Tuesday, April 28, 2015

INFINITE SHINE OPI REVIEW

Hello everyone!

Today I will be sharing with you some swatches of OPIs Infinite Shine collection.  These were sent to me by Preen.me as part of their preenmeVIP program.

This new line by OPI is meant to have a gel-like effect without the actual hassle of applying gel polish such as, putting your nails under a UV light and curing it after early layer. In addition to their gel-like effect these polishes apply like any other regular polish and can be removed with any nail polish remover. These polishes retail for about $11.99 (12.50) a bottle (not including the base coat and top coat that they recommend you purchase). I have also seen that Color4Nails will be selling these for $6.50 a bottle +shipping. If you're willing to wait for them then I recommend you check them out. Especially on Instagram!

After using this line for a couple of weeks I have found some pros and cons about them. If you follow me on instagram you will see some swatches that have already been posted on my profile. My intention for this blog is to have a more in-depth review on the Infinite Shine collection.

Throughout the blog I will be addressing the pros and cons for each mani that I did. Hope this helps in helping you decided whether or not to spend $11.99 on a bottle of nail polish (if you decide to go to your local beauty store).

Lets begin,

For this first mani I used:


How to get the look:

1. Prime your nails using the a OPI Infinite Shine Primer Base Coat. 

2. Wait till dry then start off with your base color. For this nail art  I chose OPI Infinite Shine 'Staying Neutral'.

3. Apply a coat of OPI Infinite Shine Gloss Top Coat on your middle and ring finger. Wait for it to dry

4. While you wait, apply dots to your pointer and pinky. I used a dotting tool for this and the nail polish I used was OPI Infinite Shine 'Raisin’ the Bar'.

5. Wait for it to completely dry before applying top coat.

6. Go back to the middle and ring finger. Make sure your nails are completely dry before applying nail vinyls on them. I applied some triangle nail vinyls from Vinyl Boutique (direct link above).

7. Remove immediately after painting your nails. I used tweezers for this part. I find that it makes it easier. 

8. Wait for it to dry then apply top coat.

Pros & Cons:


  • Pros
    • The base coat dries super fast. By the time I finished applying the base coat my nails were already dry.
    • The nail polish dries fast. I found that the thinner the the coats are the fast the nail polish dries
    • Without the top coat, the nail polish is super glossy alone.
  • Cons
    • The topcoat is super tricky to use. You have to make sure the brush does not touch your nailart. Expect the nailart to smear if it does touch!


For this next mani I used:


This one was my favorite manis I did :D
For this mani I used: 
The left picture was taken right after I finished the mani, the right picture was taken 6 days later. My nails tend to chip within a couple of days. I was very impressed with how long they last. I took them off because I wanted to do a new mani haha. 


For this mani I did a watermarble accent nail.
For this mani I used:
I actually did not put top coat on 4 nails (top coat on the watermarbled nail) the drying time was so fast. I found that the thinner the layer the faster it dried. I think the drying time might have been about 5 minutes! Impressive!

For this mani I did a sponged-gradient (I think that's what it's called haha) I found that soaking the sponge in water before starting the gradient helps the nail polish not dry out as quickly. On this mani I only applied topcoat on the gradient nails. The other two nails did not have any topcoat. They are still super shiny even without topcoat!

For this mani I used:


I will update this blog with any new manis I do using this line

Overall, I am very pleased. Although I wasn't such a huge fan of the topcoat all the nail polishes dried quickly on their own without it and they were great for watermarble! Although they are a little pricey in stores I highly recommend you check out online store they might have them at a cheaper price :D Hope this blog helped you decided whether or not OPI Infinite Shine is for you.


Tuesday, April 14, 2015

Nails Redesigned Vinyls

I have quite a few nail art manis to you today. Sara from Nails Redesigned was kind enough to send me some of her nail vinyls to play around with. I will be showing a lot of pictures today and i'll try to have links for all the products i've used, including the nail polishes. I'm a nail vinyl lover! I think they are super easy to use and also super easy to do different designs with!

Hope you enjoy! :)

First off I have the base for my first mani.

For this mani I used:


The color in the pictures may very, that's just my lighting.


  • Nails Redesigned Swirls
      • These come in a set of 50. 25 swirls to the right and 25 swirls to the left. 
      • Prior to using them I applied Cirque Colors Liquid Laminate Top coat 
      • Make sure you let the top coat completely dry before placing the swirls on your base color
      • Once you place the swirls, apply your polish of choice (different color from your base) and remove the swirls immediately after applying the nail polish
      • Wait to dry and apply a fast drying top coat of your choice
      • I highly recommend Cirque Colors top coat!


Next I have another mani with the same swirl design but with different colors

For this mani I used: 


I added the same swirls listed above. You can't really see it but it was still fun to do :)

Next on the list are Nail Redesigned Quatrefoil Nail Vinyls. I looooveeee these! These are so fun to use and play with! I went with a more simple look but there is so much you can do with these.

For this mani I used:


I decided to add another mani using the same vinyls. 

For this mani I used:


Last but not least are the Wide Chevron Vinyls. Not gonna lie, i've never used large chevrons before so they were definitely something new for me but I ended up really like them! These come in a set of 100. 

For this mani I used:
I really liked this mani. I like the multiple colors and how the black makes it stand out!


 Lastly, this is a mani that didn't really like. It's fun but ehh it's not that great. I did post it because i really like the colors.

For this mani I used:


Make sure to check out Nails Redesigned and look through all of her other nail vinyls! They are great and as you can see...easy to use for nail art!! :D 

Until next time, bye bye :D 


Thursday, March 26, 2015

Stardust Polish Holo Spring Collection

Hello everyone! It's been a long time since I last posted something. I'm hoping to start posting more often. 

I'm very excited about today's post. Mainly because it has to do with some super awesome spring colors! 

If any of you know me or have seen my IG account then you'd know I'm a huge fan of Stardust Polish. A couple weeks ago Drema (Stardust Polish) asked if I would like to swatch some of the upcoming spring polishes..of course I said yes! :D 

The collection consists of 7 Holographic (yes, all holographic! Yay!) spring colors. I will be showing you 5 of the 7 polishes today :) P.S. Not very good with describing colors butttt I can try! 

All these polishes can be purchased through her store on April 6th!  https://www.etsy.com/shop/StardustPolish?section_id=all&page=2

Or you can subcribe to her newsletter to preorder them and receive a sweet discount!

Email her to sign up for the newsletter stardustpolish@gmail.com


Now for the fun stuff!

These pictures are in no specific order :)

First on the list is Apple Blossom, a beautiful lime green color. 2-3 thin coats were needed to reach opacity. I think the holo is most visible in the sun but the color is still amazing indoors and outdoors.

The first picture was taken with indoor lighting. As you can see the color is very vibrant and the holo is pretty visible considering it's indoor lighting.


The next picture was taking outside before the sun went down. The color definitely changes in different lighting but that happens with a lot of nail colors :) 


Lastly, here's a macro of Apple Blossom 


Next up is Blue Skies, a gorgeous aqua color. Although I love all of the colors in this collection this one is my favorite :) 

This is 2-3 coats. I personally like to apply 3 coats. That's just my preference but it can be done in 2 coats! 

Once again, I have 3 shots. First one is indoors, next is outdoors and last is a Marco. As you can see the Aqua is very vibrant indoors but you can totally see the holo outdoors. 


Next on the list is Ocean Waves.  I'd like to think of this one as a dusty sky blue. I tried to compare it to other blues in my collection but none of them are similar to this. This one is also a 2-3 coater. 

Pictures shown are indoor, outdoor, and a macro. All in that order.


As you can see the indoor and outdoor picture looks pretty different from each other even though they are the same nail polish. I'd like to think of it as a 2 in 1 polish :) in the bottle the nail polish looks more like the outdoor picture than the indoor.

Next up is Read My Tulips (such a clever name) this is a beautiful raspberry color. As soon as I saw it I knew I was going to love it! This one was 2-3 coats. This color stayed true to itself and the holo was able to come out and play in both indoor and outdoor lighting. 

Pictures shown are indoor, outdoor and a macro all in that order 


Last but definitely not least is the lovely Dawn 2.0 a soft purple. I believe this one was a full 3 thin coats. This polish changes color with different skin tones. Of course it stays purple but it can appear a bit lighter or darker depending on your skin tone nonetheless it's still a gorgeous spring color. 

This polish was discontinued a while back hence the 2.0 and I never had the chance to get the original Dawn but I'm glad it came back..it's beautiful! 

Pictures shown are indoor, outdoor, and a macro.


***The 2 polishes that aren't featured are Lovely Lilac and Peach Blossom. The colors are pretty self explanatory. Just imagine the prettiest holographic lilac and peach color.***

Which one is your favorite?

Make sure to sign up to Stardust Polish newsletter to preorder these polishes and also to receive a sweet discount by preordering them before she lists them in her shop! 

One last foto I have is one that I did for fun. I decided to combine all the colors into one mani. I also feature stardust cuticle oil pen because it's one of the best I have ever used! I have several cuticle oils but this one worked instantly on my cuticles! I applied it after every swatch and they never dried out! The scent I got was Vanilla Champagne...I'm addicted! She has several scents listed in her store and at a very affordable price! 


Sunday, February 1, 2015

Good evening everyone :D

I decided to create another blog post before the month ends. This is part of my new year resolution, blogging. I will also try to find links for all of the products i've used.

Here is the simple mani I did. Hope you like it :)


 I originally started this mani with a swatch. This color is such a beautiful bright blue! I was very impressed with how easy the application was (2 coats). It's very creamy and also very shiny! This is Color Club Bright Night


I have seen a lot of negative space manis going around so I figured I would give it a try. Unfortunately I don't think my nails are in very good shape to be shown nude so I used OPI Samoan Sand as a base for one of my accent nails. I also used OPI Love.Angel.Music.Baby for a double accent nail.  
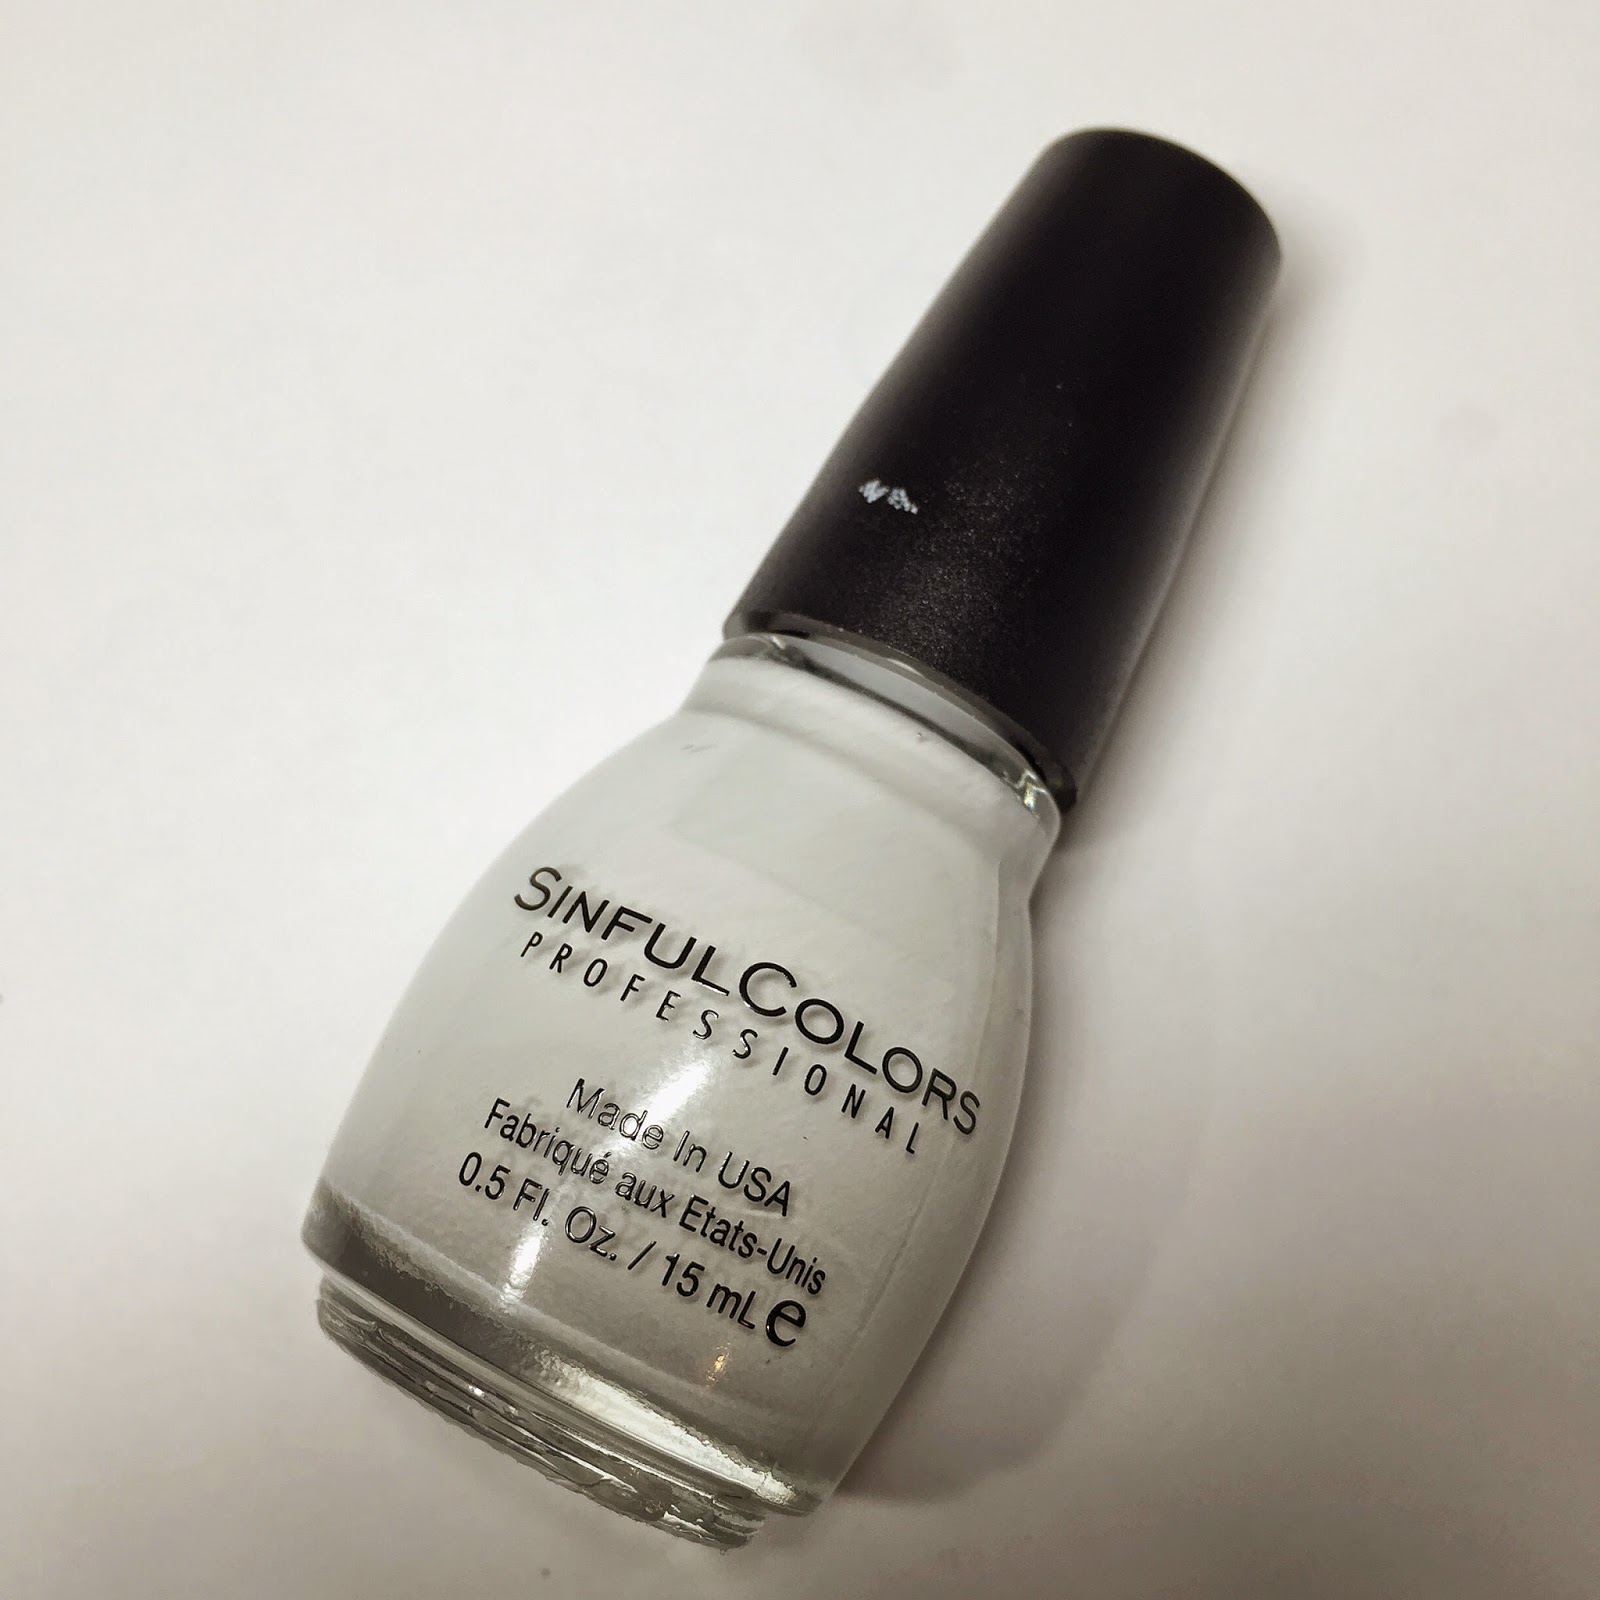
I'm also not a huge fan when it comes to spending 8-10 dollars on white or black nail polish and i've found that SinfulColors has the perfect white nail polish (in my opinion). This is SinfulColors Snow Me White which I used over OPI Samoan Sand. Last but not least. In order to get those perfect lines I used NailVinyls Straight Variety pack. These vinyls are perffffeeeeeccctttt for negative space. 

*Not featured is the topcoat I used which is HK Girl Topcoat and the clean up brush I use from Jolie Polish which is currently sold out. 

And the moment you've all been waiting for...here is the final product.


Thank you for reading :D Please let me know if you have any questions or if there is anything i've missed that you would like to know more about! 

-Karen (minipolishh) 


Tuesday, January 13, 2015

My very first blog post!

Hello and welcome!

This is actually really weird for me to be typing this. I'm totally new to this and don't really know what to say. I decided to open up this blog with a bit of a flashback to my very first attempt at doing a sponged gradient. Which of course was a total fail! I recall seeing a gradient for the first time on instagram and falling in love with it. I went to the store that same day and picked out a few nail polishes and sponges (of course). Back then I had noooo clue what a topcoat was so I did not use one. Once I finished my mani I realized what a fail it was. Gradients are not my favorite thing to do either, once was enough for me.

Today! I decided to give sponged gradients another try. I was determined to use the same colors as before and I was also determined to try a bit harder. This time I had an actual topcoat to smooth out the surface. 

Here is the Now & Then photo of my nails. I'm so shocked at how much of a difference there is. My first attempt was about 3 years ago! Glad to see i'm learning a bit :) 

Here are the products I used for this mani:
I also provided links to most of the products I bought online. 

Color Club (from left to right): Evolution, Pucci-Licious (I think, it didn't have a name but I did a lot of searching) In Bloom and Pinky Swear. I also used a sponge I bought from target. 

The topcoats used were:

From left to right: 
For cleanup I used: 


Here are some shots of my mani: 


 I also added some stamping just for fun. The plate I used was Bundle Monster BM-616
Here is a matte version of the gradient. I like them both. Which one do you like?

Thank you for reading. I made my first post short and simple. Hopefully with time I get better at this. Let me know if there is anything I missed that you would like to know more about :D