Lately I've been playing around with my stamping plates and nail polishes. To be honest, I suck. I suck at stamping. The nail polish never picks up on my stamper or when it does, it never transfers onto my nail.
I've been a fan of Bory's shop aka Joliepolish for quite a while (she's known for her awesome clean up brushes), as soon as I saw her talking about coming out with stamping polishes I knew I had to try them out! Today, I will be reviewing the stamping polishes I purchased from her shop and offering some tips that I have found useful when it comes to stamping.
Item description: The set includes 8 polishes. Bory made a full set and a mini set. I always like to purchase mini sets (if available) it gives me the chance to try out the product and also save a bit of money. The full size set retails for $48 and the mini size set retails for $28. If you're new to stamping like I somewhat am, I suggest you purchase one of her stamping kits, they are amazing! She also ships extremely fast!

A long time ago I had this crazy idea of purchasing a bunch of stamping plates in hopes that I would become really good at stamping haha! I purchased a set of stamping plates from Pueen which i've had stashed in my drawers for maybe 2 years. I decided to use 2 plates from that set. The set is from the 2013 Nail Art Collection.

Look at that really noticeable scratch on the stamping plate ^^^ That was done using the scraper my original stamping kit came with (not bought from Jolie Polish).

The scraper (not the stamper) looked like this one ^^ (picture taken from google..oops)
You can somewhat see the metal on that scraper. This is not good!
Tip: Instead of using this scraper, replace it with a credit card that you no longer use, a business card works great too, or a plastic scraper that some stamping kits come with. As long as it's plastic and not metal, you'll be good.

For this stamping plate I used a business card I had laying around the house and there is no visible damage on my stamping plate! Yay!
Now for the fun part (I hope).
I originally had bought the stamping kit when I bought my stamping plates and no matter what I did they wouldn't stamp! ugh, so frustrating. So after contemplating for a really long time on whether or not to purchase another stamping kit, I decided to go ahead and purchase another one. I have bad luck with them because that one didn't work..after purchasing 5, yes! FIVE! different stamping kits I decided stamping wasn't for me. Clearly i'm crazy for even purchasing 5 to begin with haha.
Then this little stamping fairy comes along (Bory) and starts posting on instagram (@joliepolish) about her stamping kits and how she preps them for you before she sends them out to you (talk about amazing customer service/satisfaction). I already had way too many stamping kits so I decided to just purchase the replacement head for my original stamper. (picture shown below).
As you can tell, my stamper handle (black part) is all used up. The yellow stamper is the replacement head I purchased from Bory's shop ( https://www.etsy.com/shop/joliepolish).

Here are some images using the stamper I bought from her shop along with the stamping polishes she sells. Both the stamper and the stamping polishes work AMAZING! The polishes are opaque and have this amazing shimmer to them. They truly stand out.


This last picture using the yellow stamper didn't pick up the polish very well.
Tip: Buy some Mr. Clean erasers and lightly rub your stamper head
This will help pick up images a lot easier
Also don't forget to clean your plate and scraper after 2-3 uses!
Clean your stamper by using a lint roller or some tape :)

Because i'm such a stamping kit fanatic I have also been seeing a lot of stamping kits with smaller handles. I decided to purchase another stamper but from Winstonia. I really like the handle on this stamper. If you have small hands like I do it's so much easier to grip.
Below are pictures showing the stamper using the stamping polishes.


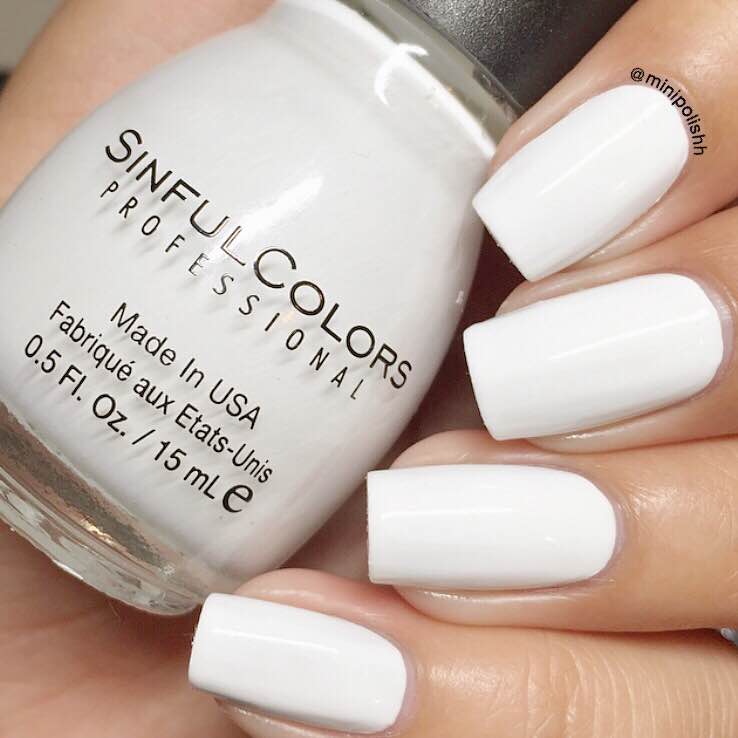
Now for the manicures I did! For the first manicure I just did a stamped gradient, because those are so much fun! I started off with a white base, this is Sinful Colors 'Snow Me White'.
The polishes transferred beautifully onto the stamper! They even made such a great gradient!

Here is a macro of my favorite nail using 3 of the stamping polishes from Jolie Polish.
This mani was just a tester mani, I wanted to stamp using all the polishes just for fun but I really ended up liking how it turned out.

Aside from stamping, these polishes are really good for gradients. I actually covered the mani shown above because I was too lazy to redo my nails. I only needed to sponge over the nails ONCE and you can't even see the mani underneath it! wooooow! That's how opaque these polishes are! After sponging on the gradient, it didn't take long for them to dry so I just stamped some flowers over them without a problem!

After messing around with the polishes practically all night, I needed something quick to wear so I could go to sleep. I used one of Joliepolish stamping polishes on my pointer and pinky. Only ONE coat was needed. How amazing is that? I also couldn't go without stamping my other two nails.
If you're in a rush to go to sleep or to get out the door, these polishes are great even for a simple mani.

Overall, I am really loving stamping thanks to these polishes and the stamper replacement head I purchased! I'm obsessed! I even want to purchase more replacement heads for all my other horrible kits (not purchased from JoliePolish). Bory is also coming out with other amazing colors to stamp with. Believe me, I will probably be purchasing them very soon. If you aren't a fan of multiple bright colors and want to stick to the basics, Bory also has other colors such as, black, silver, and gold.
If you're like me, someone who is tired of purchasing very bad stampers go check out joliepolish! She has everything you need, stamping kits, stamping polishes, stamping plates, and most importantly, clean up brushes. Make sure you follow her on instagram @joliepolish her inventory goes by extremely fast so you don't want to miss out on these!
Let me know what you think.
Have you heard of Joliepolish before?
Until next time,
Karen (minipolishh)
Thanks for the tips! And it was like listening to myself talk because I've been the same way with stamping and nails in general. I'm not as talented as you (your manis are amazing) but I have fun doing it. I found Bori on Instagram and love her products as well. I actually just bought the mini stamping set. :)
ReplyDeleteIt really does take a lot of practice! I'm glad you bought one! You won't regret it :D
DeleteThis comment has been removed by the author.
ReplyDeleteThank you for the wonderful tips as well. I also bought a replacement stamper and all of her nail stamping polishes from Bory. I am very new to stamping and have had the same problem that you were having. No matter what I did I could not get the polish to transfer to the stamper. I even emailed Bory to ask her for some advice. She gave me some wonderful tips as well. Do you have any advice as well. Such as how much polish do you put on the plate, do you scrape from a certain direction and then roll your stamper onto the plate another direction? Any advice would be very helpful. Thank you so much for your time and your tips!
ReplyDeleteHi Nancy,
DeleteGood questions! I should've mentioned that in my blog post. I may go back to update it! I am going to try to answer all your questions. Hopefully they help :)
How much polish do you put on your plate? I put enough to cover the whole image. I don't go overboard with my polish. I make sure I have enough polish on my image. You don't really need a lot a small blob worked fine with me.
Do you scape from a certain direction? Now that I think about it. I do! I scrape left to right. For some reason it works best for me that way. I also don't roll my stamper. I just place my stamper on top of my image. Rolling has never worked for me.
If you have any more questions I'd be more than happy to answer them :)
Lovely stamping! I especially love the rainbow stamping over a white base! GORGEOUS!
ReplyDeleteThank you so much Kristi!
DeleteYour manicures are amazing to me and the colors of the polishes are absolutely incredible!
ReplyDeleteThank you so much Jessica!
Delete